How to Create Beautiful Butterfly Lighting for Portraits

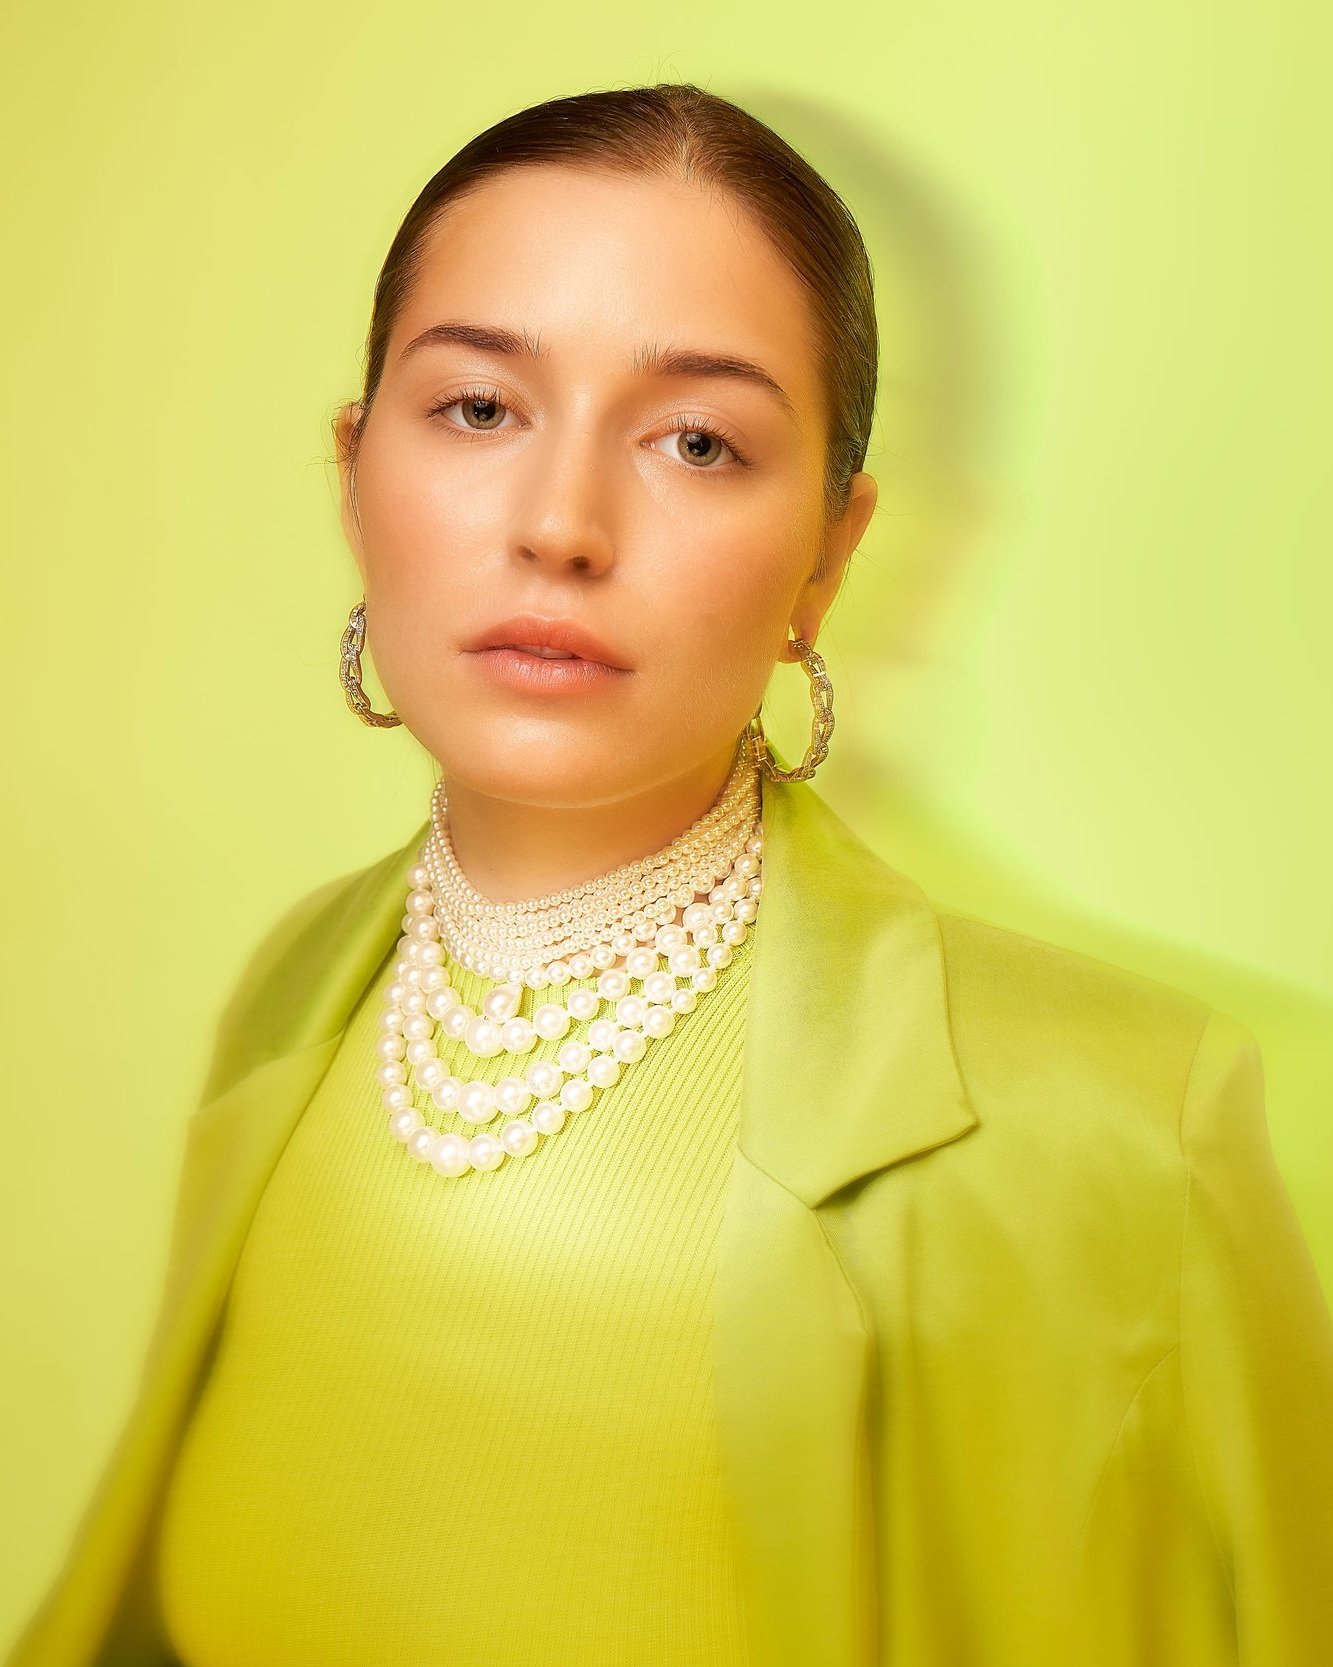
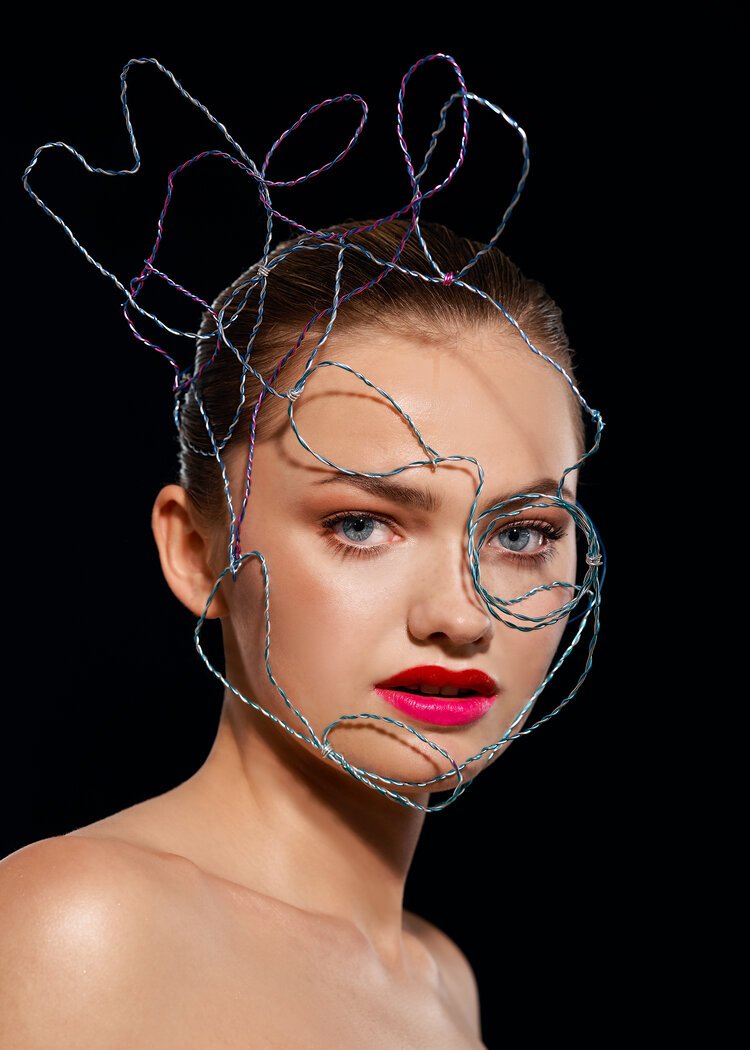
Butterfly lighting is a popular technique in portrait photography that creates a soft, flattering light on your subject's face. This lighting setup is named after the butterfly-shaped shadow it creates under the nose. In this blog post, we'll go over the equipment you'll need and the steps to set up butterfly lighting for your portrait photography.

Equipment Needed:

  • One light (ideally softbox or umbrella style)

  • Light stand

  • Reflector (optional)

Steps to Set Up Butterfly Lighting:

  1. Position your main light at a 45-degree angle to your subject's face, slightly higher than eye level. This will create a soft, diffused light that wraps around their face.

  2. Adjust the height and angle of the light until you achieve the desired shadow effect.

  3. If needed, use a reflector to bounce some light back onto your subject's face and reduce shadows.

How to Use Clamshell Lighting for Stunning Portrait Photography

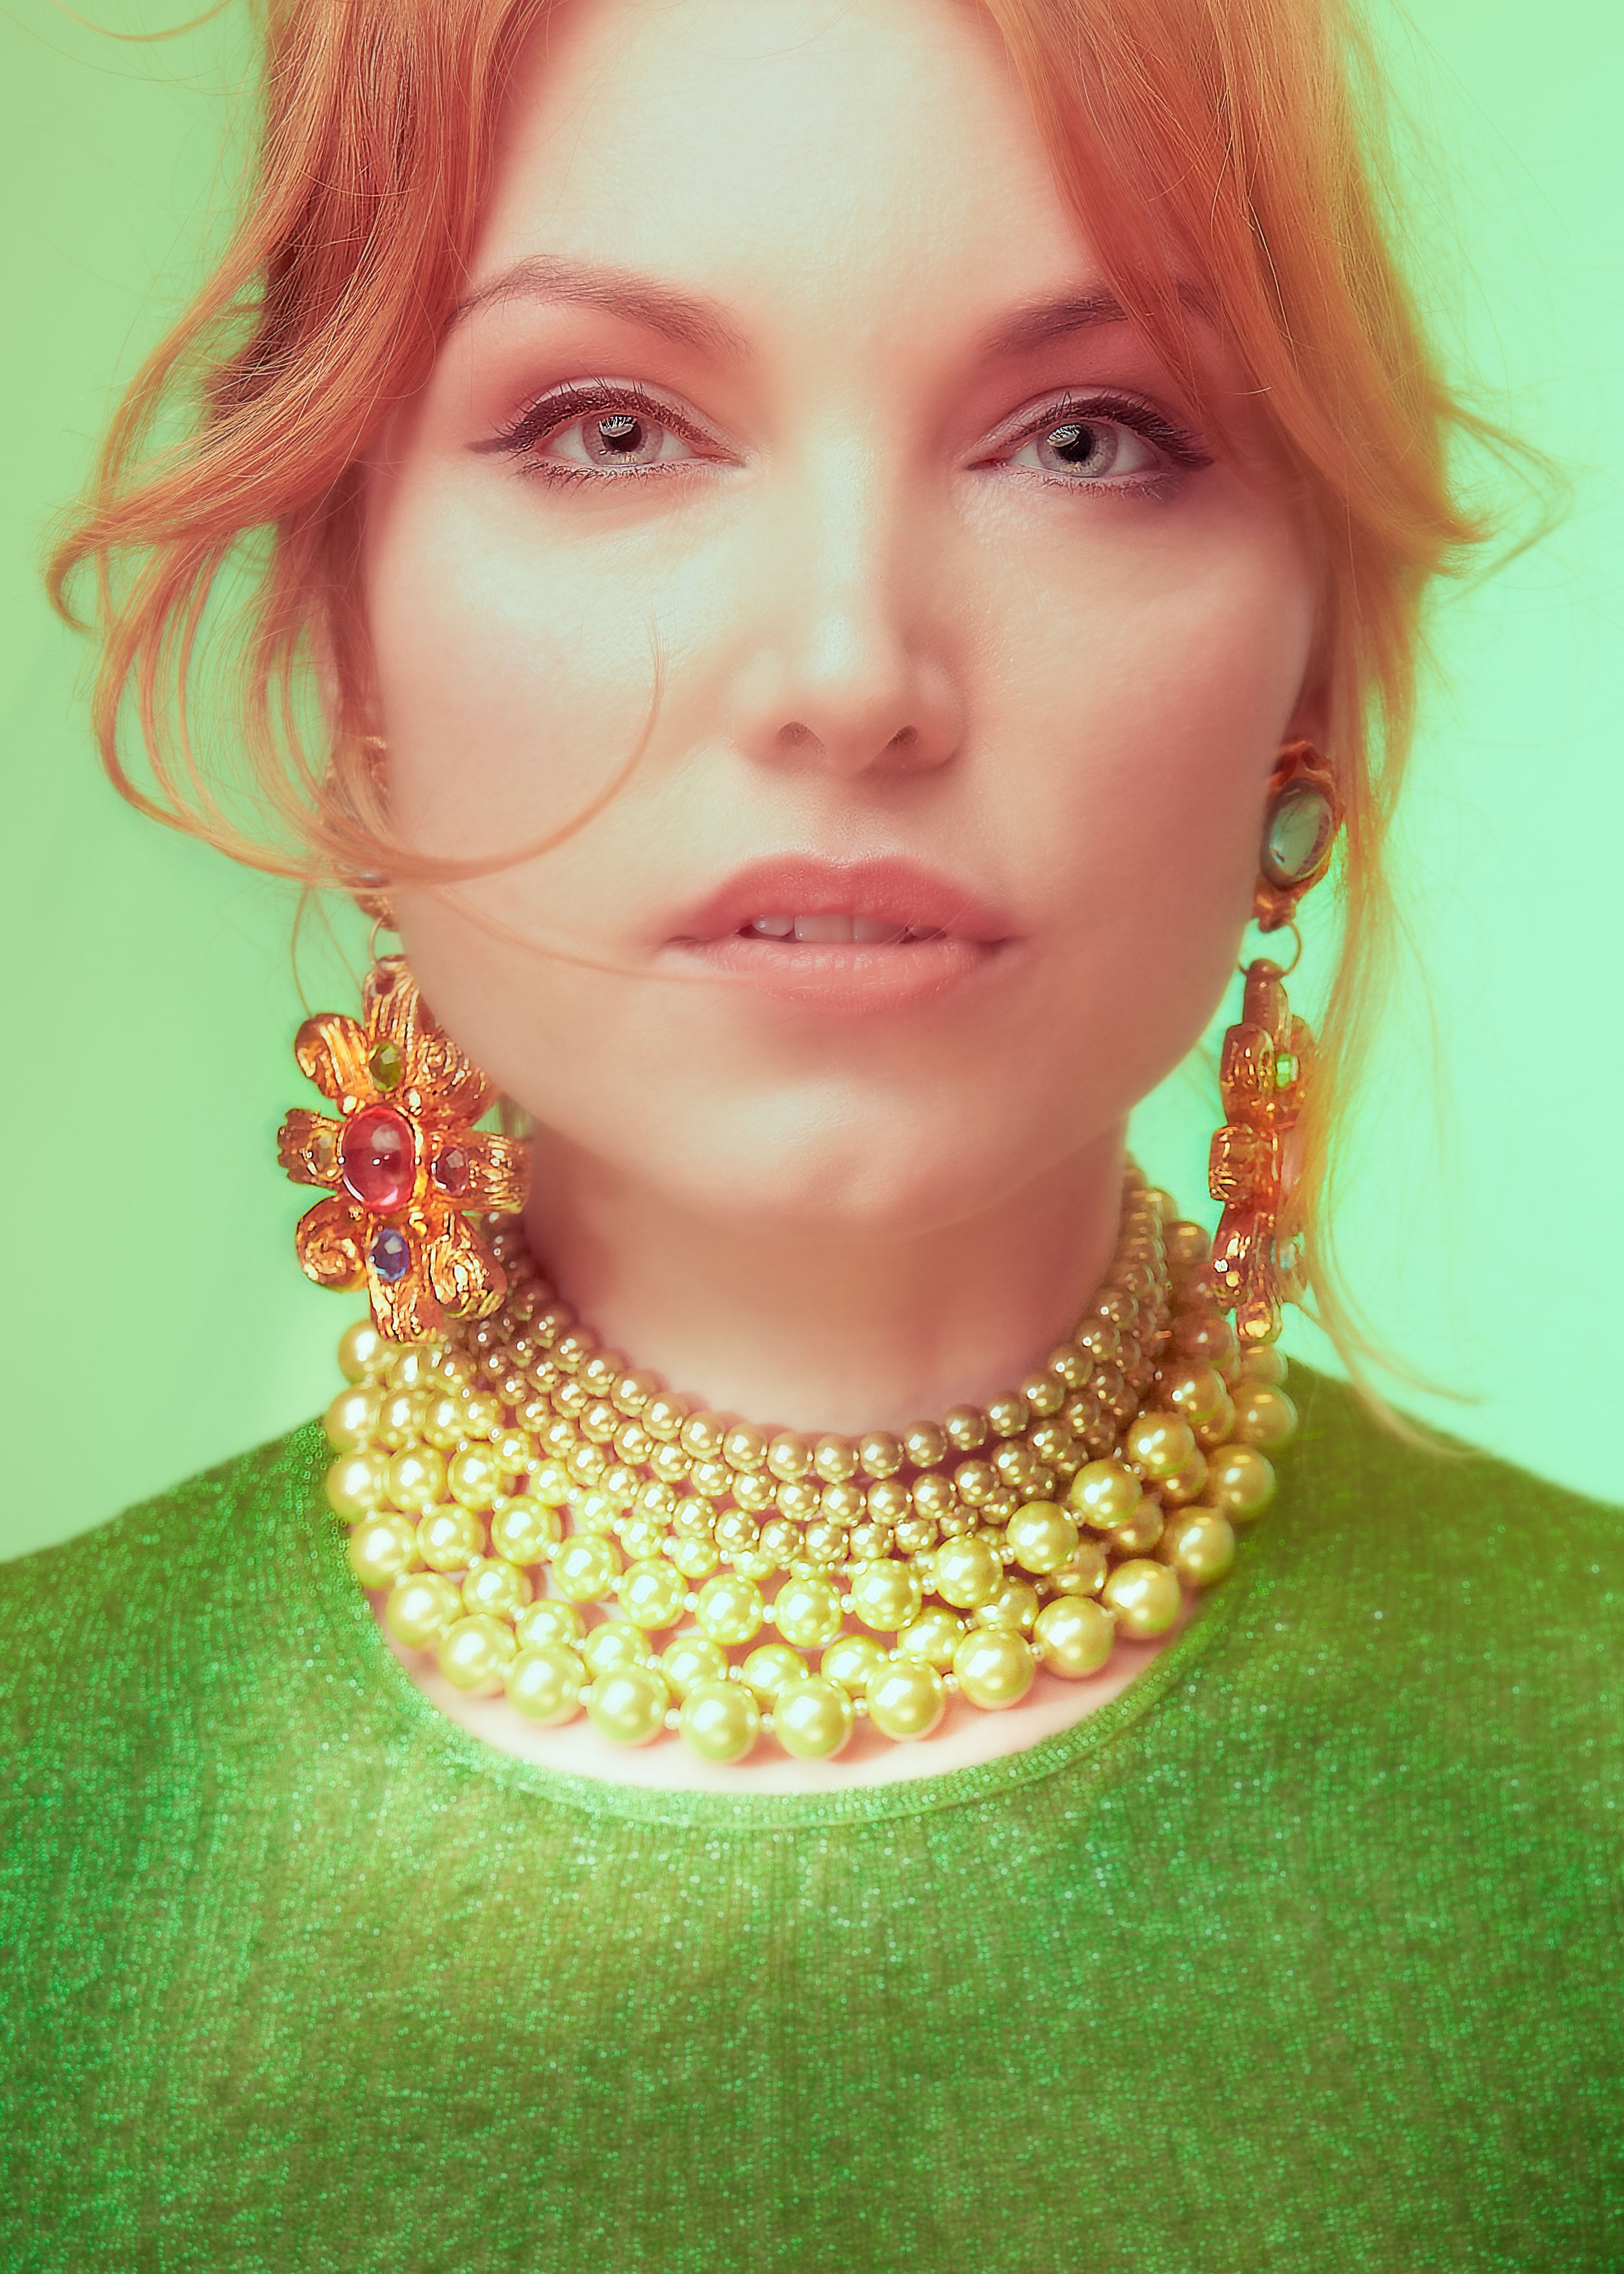
Clamshell lighting is a popular lighting technique in portrait photography that involves using two lights or a light and a reflector to create a soft, flattering light on your subject's face. The name comes from the fact that the two lights resemble the shape of a clamshell when set up correctly.

In this blog post, we'll explore how clamshell lighting works, what equipment you need, and how to set it up for your own portrait photography.

How Does Clamshell Lighting Work?

Clamshell lighting involves using two lights (or one light and one reflector): a larger light source above your subject's face (known as the key light) and a smaller light source or reflector below their face (known as the fill light). The key light provides most of the illumination, while the fill light helps to reduce shadows and add definition to your subject's features.

This lighting setup is particularly effective for portrait photography because it creates a soft, flattering light that brings out your subject's natural features. By placing the lights in a clamshell formation, you can also help to minimize any harsh shadows or unflattering angles on your subject's face.

What Equipment Do You Need?

To create clamshell lighting, you'll need two light sources, such as studio strobes or speedlights (or one light source and one reflector). You'll also need light stands, softboxes or umbrellas to diffuse the light, and triggers to fire the lights remotely.

When it comes to the size and power of the lights you use, this will depend on the size of your subject and the distance between the lights and your subject. Generally, you'll want to use a larger, more powerful light source as your key light, and a smaller, less powerful light source (or reflector) as your fill light.

How Do You Set It Up?

To set up clamshell lighting, start by placing your key light directly above your subject's face. This light should be angled down slightly to create a soft, even light on their face.

Next, position your fill light directly below your subject's face. This light should be angled up slightly to help fill in any shadows and add definition to your subject's features.

Finally, adjust the distance between the lights and your subject as needed to achieve the desired effect. You may need to experiment with different distances to get the perfect balance of light and shadow on your subject's face.

Wrapping Up

Clamshell lighting is a highly effective technique for portrait photography, providing a soft, flattering light that brings out your subject's natural features.

With the right equipment and a bit of practice, you can start using clamshell lighting to elevate your portrait photography game and capture stunning, flattering portraits that your clients will love.

From Awkward to Awesome: How to Pose Like a Pro in Front of the Camera

Do you cringe every time you see a camera pointed at you? Fear not, my friend! As a photographer, I often hear people say that they don't feel comfortable in front of the camera. It's understandable - being the center of attention can be nerve-wracking. But there are some simple tips and tricks you can use to feel more relaxed and confident in your poses.

  1. Relax your body: Easier said than done, but start by taking a deep breath and letting go of any tension in your body. Shake it out. Literally. Pretend you're a puddle of melted butter or a noodle. Relax your hands and fingers.

  2. Move: From that place of zen relaxation, move around. Shift your weight from one foot to the other, and move back and forth. Look at the camera and away from the camera. Keep experimenting and changing it up. This isn’t 5th-grade school portraits so there is no need to stay in the same position.

  3. Find your angles: Everyone has different angles that flatter them the most (even professional models). Try turning your body slightly to the side, or tilting your head to one side or the other. Experiment with different poses and angles to see what looks best on you.

  4. Use props: Props can be a great way to add interest and depth to your photos, and they can also give you something to do with your hands. Try holding a bouquet of flowers, a coffee mug, or a book. Just make sure the prop fits the mood and style of the photo.

  5. Interact with your environment: Use your environment to your advantage by leaning against a wall, sitting on a bench, or standing on a staircase. Interacting with your environment can help you feel more natural and at ease in your poses.

  6. Embrace Your Quirks and Have Fun: Don't be afraid to let your unique personality shine through in your photos. Whether it's a goofy facial expression or a weird dance move, embrace your quirks and have fun with it. Don't take yourself too seriously, and remember that your unique personality and energy will shine through in your photos.

Now go forth and strike a pose!